Enabling Request Forms
You can activate the request form to make it available to users.
-
Click the Administration menu icon (gear icon) in the header.
The gear-shaped icon appears only on the screen for the users with administrative privileges. -
Click Garoon System Administration.
-
Select "Application settings" tab.
-
Click Workflow.
-
Click Request forms.
-
On the "Request forms" list screen, select a category and click the name of the request form to enable.
-
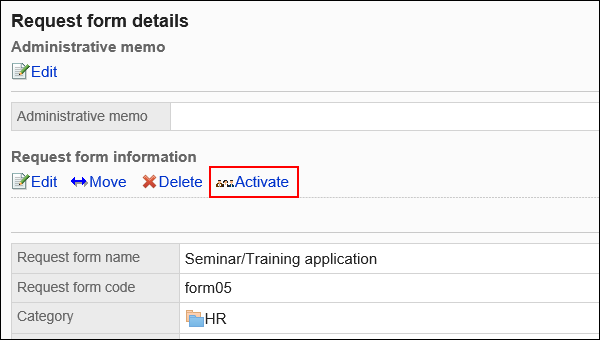
On the screen for request form details, click "Enable" in the request form information.

-
Click Yes on the "Enable Request Form" screen.
Disabling Request Forms
Make the request form inactive.
A request form that has been disabled does not appear on the user screen.
You can still continue to process the on-going request data and the sent-back request data even if you disabled the request form.
-
Click the Administration menu icon (gear icon) in the header.
The gear-shaped icon appears only on the screen for the users with administrative privileges. -
Click Garoon System Administration.
-
Select "Application settings" tab.
-
Click Workflow.
-
Click Request forms.
-
On the "Request forms" list screen, select a category, and then click the name of the request form to disable.
-
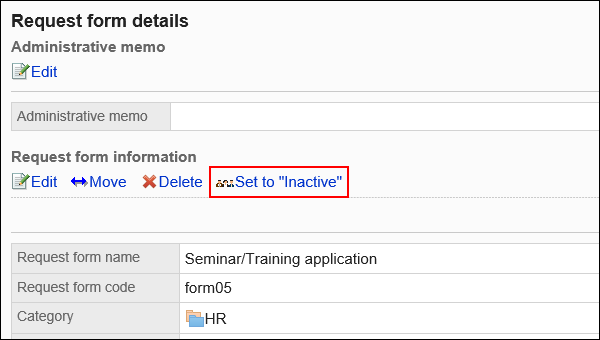
On the screen for request form details, click "Disable" in the request form information.

-
Click Yes on the "Enable Request Form" screen.