Adding Users
You can add users.
-
Click the Administration menu icon (gear icon) in the header.
The gear-shaped icon appears only on the screen for the users with administrative privileges. -
Click Users & System Administration.
-
In Users & System Administration, add users.
For details, refer to how to add users.
What Is Priority Organization?
Priority organization is the organization shown on the top of the dropdown list when users select organizations in Garoon.
After the organization name of a priority organization, "(Priority organization)" is displayed.
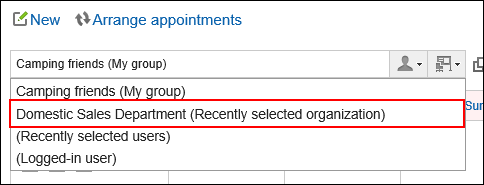
"Primary Department" that you set as user information in Users & System Administration will be reflected in the dropdown list in the Garoon organization selection.
If you set the priority organizations for the ones users frequently select, they can easily select recipients or attendees.
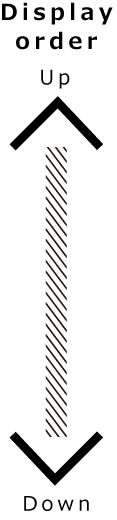
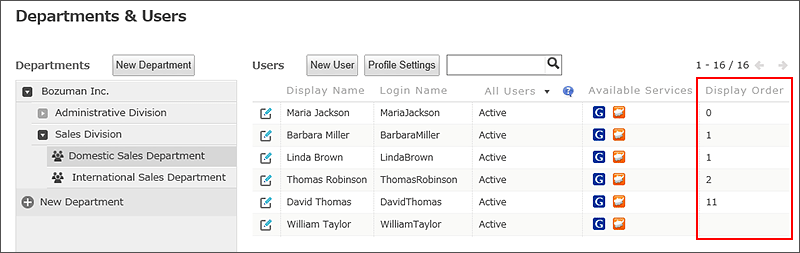
What Is the Display Order?
On the user list screen, users are displayed according to the display order settings.
 |
|
Example of the organization/user settings screen:
Example of a user screen:
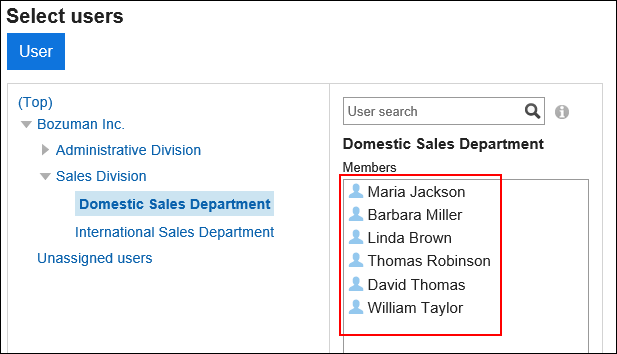
For details, refer to the "What is the Display Order?" section.
Checking User ID
User ID is an ID that Garoon automatically configures when a new user is added. You cannot change user ID.
This section describes how to check user IDs.
-
Click the app icon
 in the header.
 -
Click Scheduler.
-
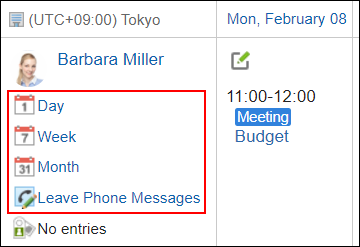
On the "Scheduler" screen, click Day, Week, Month, or Leave Phone Messages for the user whose user ID you want to find.
-
Find the "uid=(number)" in the access URL.
The uid number is a user ID.
If you click Day, Week, or Month, the user ID will be displayed in the URL. If you click Leave Phone Messages, the user ID will be displayed at the end of the URL.