Settings in Shared Routes List
In the list of shared routes, you can add a separator line to organize the view of the list, or reorder the route.
Adds a separator line to the list of shared routes.
-
Click the Administration menu icon (gear icon) in the header.
The gear-shaped icon appears only on the screen for the users with administrative privileges. -
Click Garoon System Administration.
-
Select "Application settings" tab.
-
Click Workflow.
-
Click the route list.
-
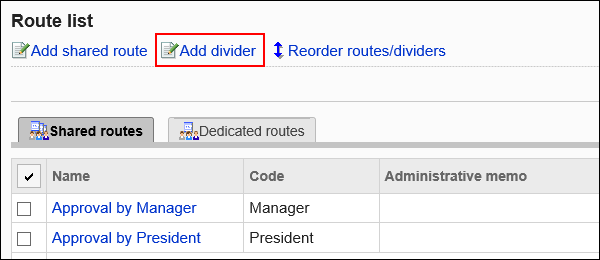
On the "Route list" screen, select the "Shared routes" tab, and then click Add divider.
-
Click Yes on the add separator lines screen.
The added separator lines are displayed at the bottom of the list.
Change the position of separators as needed.
Change the route and the order of the separator lines in the shared route list.
-
Click the Administration menu icon (gear icon) in the header.
The gear-shaped icon appears only on the screen for the users with administrative privileges. -
Click Garoon System Administration.
-
Select "Application settings" tab.
-
Click Workflow.
-
Click the route list.
-
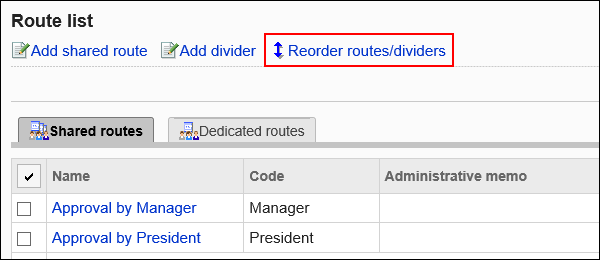
On the "Route list" screen, select the "Shared routes" tab, and then click the item to reorder routes and separator lines.
-
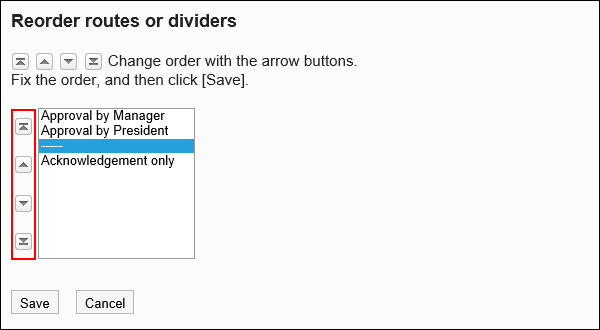
On the "Reorder Route/Separator Lines" screen, change the order of routes and separators.
For each shared route, a list of the request forms using the route is displayed.
-
Click the Administration menu icon (gear icon) in the header.
The gear-shaped icon appears only on the screen for the users with administrative privileges. -
Click Garoon System Administration.
-
Select "Application settings" tab.
-
Click Workflow.
-
Click the route list.
-
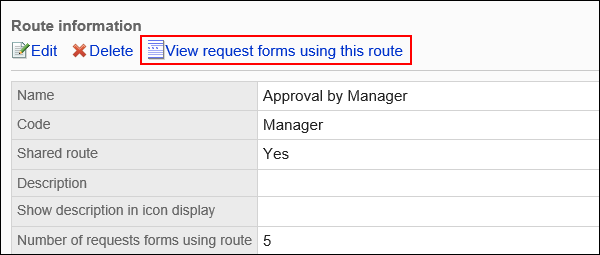
On the "Route list" screen, select the "Shared routes" tab, and click the route name of the shared route to check the usage.
The number of request forms that are using the route is displayed in the "Number of form you are using".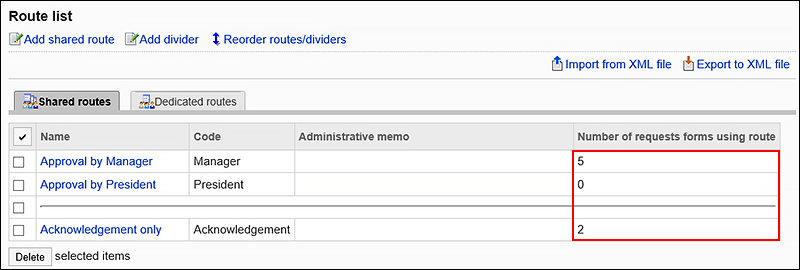
-
On the route details screen, click the item to view request form used in route information.
-
On the "Request forms" list screen, check the request form list that uses the route.
When you click a request form name, the screen for request form details appears.