Adding a shared route
Add a shared route.
Set basic information such as route name and Route code.
Steps:
-
Click the Administration menu icon (gear icon) in the header.
The gear-shaped icon appears only on the screen for the users with administrative privileges. -
Click Garoon System Administration.
-
Select "Application settings" tab.
-
Click Workflow.
-
Click the route list.
-
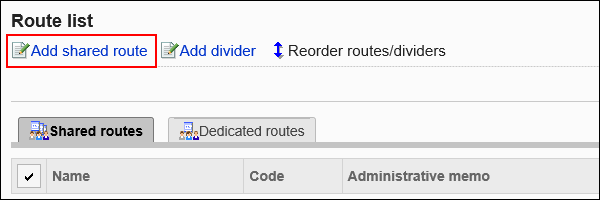
On the "Route list" screen, select the "Shared routes" tab, and then click the item to add shared routes.

-
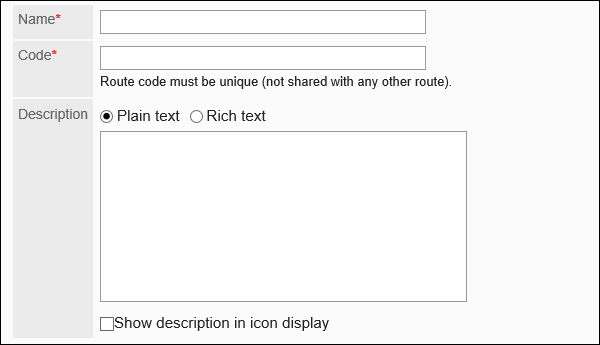
On the "Add shared route" screen, set the required items.
-
Confirm your settings and click Add.

| Item | Description |
|---|---|
| Route Name | Enter the route name. |
| Route code | Unique code for identifying routes. |
| Route description | Enter a description of the shared route. You can use Rich Text Formatting. To display the description on another screen, select the checkbox for "Show description as Icon". The information entered is displayed on the "Create request (route)" screen of the user. 
|