Proxy API settings
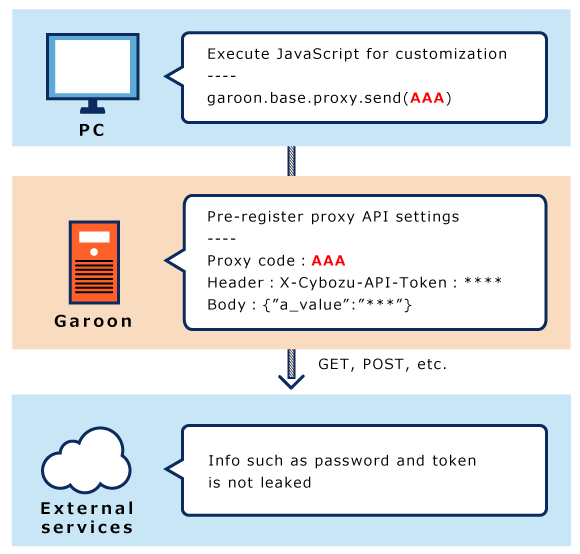
Proxy API Settings in Garoon is a feature that can be optionally used when using JavaScript customization.
By using the proxy API settings, you can send requests to external services from the JavaScript that you use for customization.
Points to Check before Setting Proxy API
We recommend that you use the Garoon proxy API settings after you have prepared the JavaScript file for customization.
JavaScript customization is available in Garoon general screens or in the following applications.
- Portal HTML portlet
- Scheduler
- Messages
- Workflow
Before you customize them, be sure to check the precautions.
For details on the precautions for customization, refer to Points to Check before Customization.
Adding Proxy API Settings
Add proxy API settings to Garoon.
-
Call garoon.base.proxy.send function in the JavaScript you customize.
For customization examples using parameters, request specifications, and proxy API settings, refer to [Garoon JavaScript API] how to connect Garoon Scheduler to kintone on cybozu developer network. -
Click the Administration menu icon (gear icon) in the header.
The gear-shaped icon appears only on the screen for the users with administrative privileges. -
Click Garoon System Administration.
-
Select "Basic system administration" tab.
-
Click "API".
-
Click "Proxy API Settings".
-
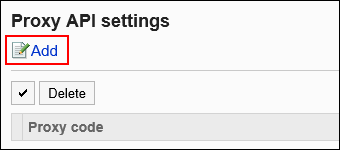
On the "Proxy API Settings" screen, click Add.
-
On the "Add proxy configuration" screen, enter the "Proxy Code" field.
You must set the proxy code.
A proxy code used to call garoon.base.proxy.send function. The code should match the one specified with the function.
You can specify the proxy code in up to 100 characters. If 101 or more characters are entered, the first 100 characters are registered.
If the same proxy code already exists, an error occurs.
-
Set the "Method" field.
A HTTP method used to call garoon.base.proxy.send function. The method should match the one specified with the function.
The available methods are as follows:- GET
- POST
- PUT
- PATCH
- DELETE

-
Enter the "URL" field.
The URL is mandatory.
Enter the URL of the API to use. The URL must match the one specified in the function in forward matching.
-
Set the "Parameter" field.
Adds the information of the parameter to the point specified in the function.
When you use a GET request to send, the parameter set here can be added to it. -
Set the "Header" field.
Adds the information of the header to the point specified in the function.
If the same header key exists in the function and the proxy API settings, the header key set in the proxy API settings overrides the one in function.
If the same header key exists in the proxy API settings, the last key specified overrides the preceding one. -
Set the "Body" field.
This item is displayed when the "Method" field is POST, PUT, or PATCH.
For conditions where body information is added, refer to the topic on Running External APIs in cybozu developer network. -
Select "Enabled" for "Status" field.

-
Confirm your settings and click Add.
Changing Proxy API Settings
Change the proxy API settings.
-
Click the Administration menu icon (gear icon) in the header.
The gear-shaped icon appears only on the screen for the users with administrative privileges. -
Click Garoon System Administration.
-
Select "Basic system administration" tab.
-
Click "API".
-
Click "Proxy API Settings".
-
On the "Proxy API Settings" screen, click the proxy code for the proxy API to change.
-
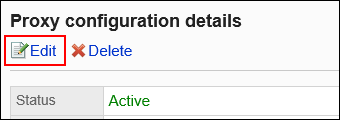
On the "Proxy configuration details" screen, click Edit.
-
On the "Edit proxy configuration" screen, change the settings as necessary.
-
Confirm your settings and click Save.
Deleting Proxy API Settings
Delete proxy API settings.
Deleting Proxy API Settings One by One
Delete the proxy API settings one by one.
-
Click the Administration menu icon (gear icon) in the header.
The gear-shaped icon appears only on the screen for the users with administrative privileges. -
Click Garoon System Administration.
-
Select "Basic system administration" tab.
-
Click "API".
-
Click "Proxy API Settings".
-
On the "Proxy API Settings" screen, select the proxy code for the proxy API to delete.
-
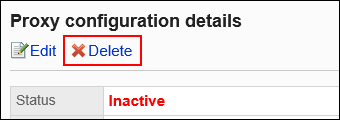
On the "Proxy configuration details" screen, click Delete.
-
Click Yes on the "Delete proxy configuration" screen.
Deleting Multiple Proxy API Settings in Bulk
Select multiple proxy API settings and delete them in bulk.
-
Click the Administration menu icon (gear icon) in the header.
The gear-shaped icon appears only on the screen for the users with administrative privileges. -
Click System settings.
-
Select "Basic system administration" tab.
-
Click "API".
-
Click "Proxy API Settings".
-
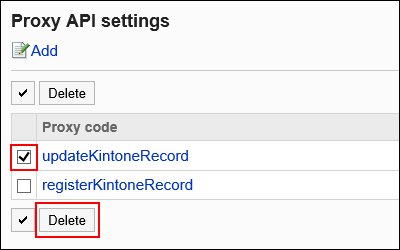
On "Proxy API Settings" screen, select checkboxes of proxy API to delete and click Delete.
-
Click Yes on the "Delete proxy configurations" screen.