Setting up system mail account.
You configure the system mail account that Garoon uses to send e-mail notifications.
The steps to configure a system e-mail account depend on which e-mail server you use.
- Use built-in e-mail server
- Use E-Mail Server Configured for E-Mails
- Configure e-mail server for system e-mail
The system mail account is an e-mail address that is used as the sender of e-mail notifications from features like Phone messages and Workflow. You can receive e-mail notifications by setting up a system e-mail account, regardless of whether or not the e-mail feature is enabled.
Use Built-in E-Mail Server
Use the e-mail server installed in Users & System to send e-mail notifications.
By default, a built-in e-mail server is configured.
-
Click the Administration menu icon (gear icon) in the header.
The gear-shaped icon appears only on the screen for the users with administrative privileges. -
Click Garoon System Administration.
-
Select "Basic system administration" tab.
-
Click External server.
-
Click System mail account settings.
-
Click Change on the "System e-mail account details" screen.
-
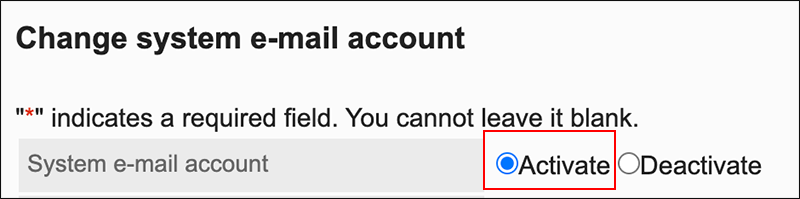
In the "System e-mail account" field on the "Change system e-mail account" screen, select "Activate".
-
Select "Built-in e-mail server" in the "E-mail server to be used" field.
 The system e-mail address will be fixed to "no-reply@Users & System".
 -
Click Save.
Use E-Mail Server Configured for E-Mails
Use the e-mail server configured for sending/receiving e-mails in Garoon to send e-mail notifications.
-
Click the Administration menu icon (gear icon) in the header.
The gear-shaped icon appears only on the screen for the users with administrative privileges. -
Click Garoon System Administration.
-
Select "Basic system administration" tab.
-
Click External server.
-
Click System mail account settings.
-
Click Change on the "System e-mail account details" screen.
-
In the "System e-mail account" field on the "Change system e-mail account" screen, select "Activate".
-
In the "E-mail server to be used" field, select "E-mail server configured for e-mail" as an e-mail server to use for the system e-mail account.

-
In the "System e-mail address" field, enter the e-mail address to be used as the system mail account.

If SMTP authentication is enabled, you must also configure the following fields.
- Account for sending:
Enter an account name required for authentication. - Password for sending:
Enter a password required for authentication.

- Account for sending:
-
Confirm your settings and click Save.
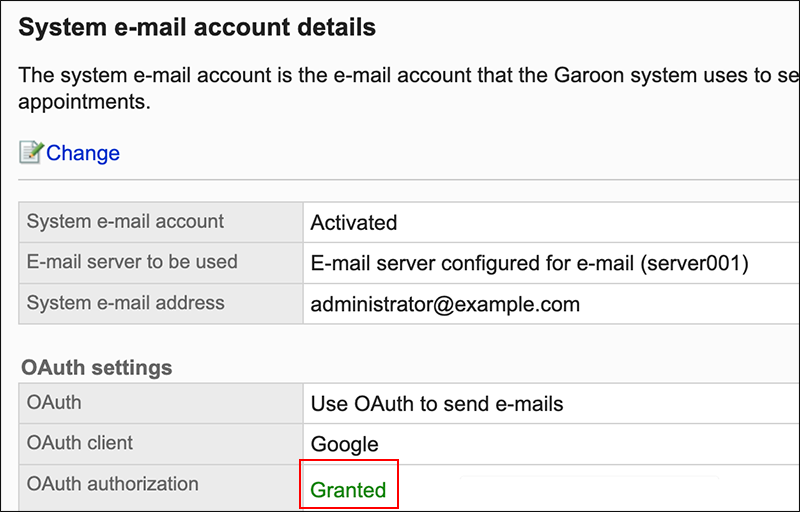
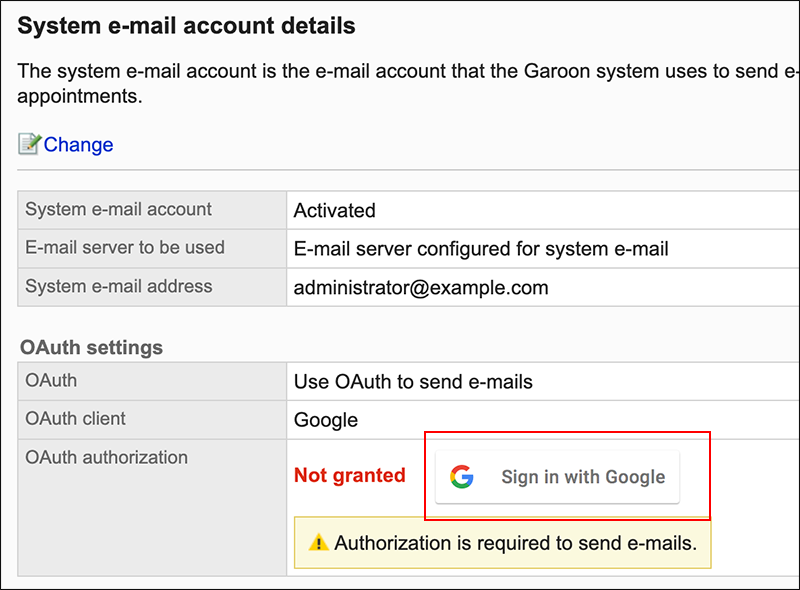
The "System e-mail account details" screen is displayed.
If "Not granted" is displayed in the "OAuth authorization" field, go to the next step and perform OAuth authorization.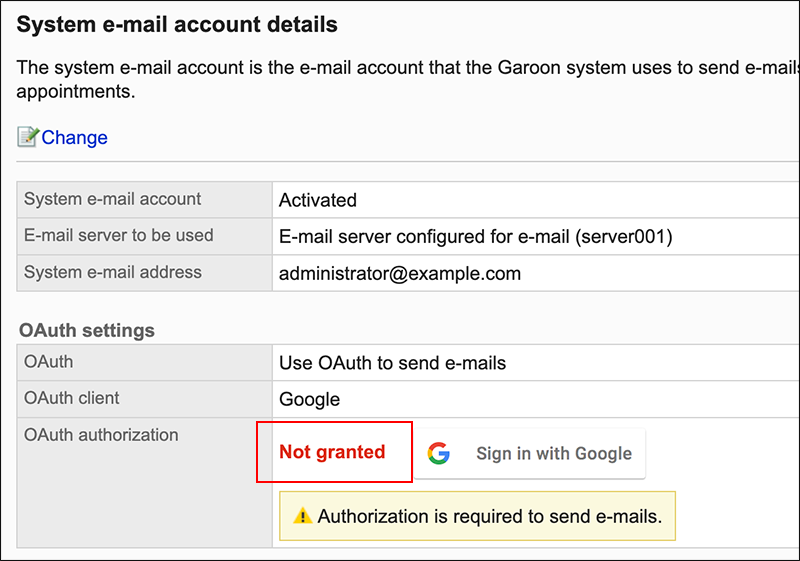
-
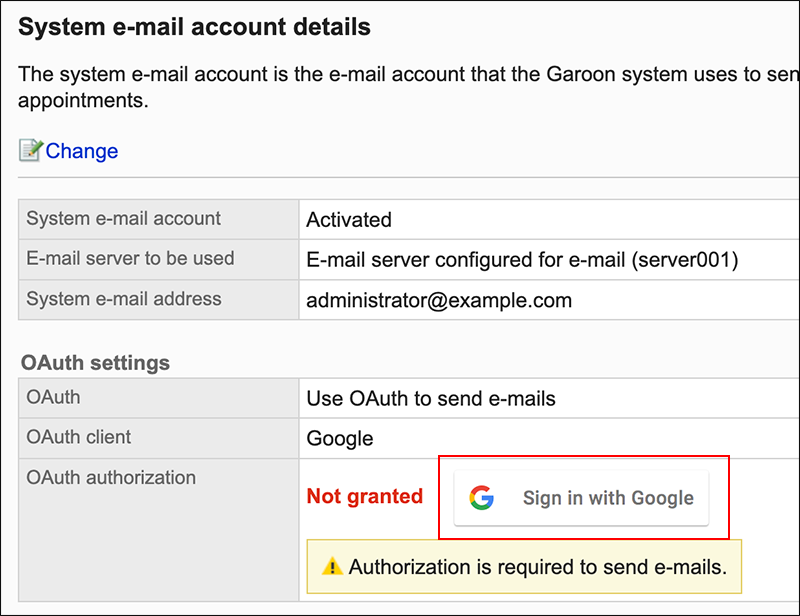
On the "System e-mail account details" screen, click the button displayed in the "OAuth authorization" field to authorize the e-mail account and allow accesses.
- For Gmail account:
Click Sign in with Google. - For Exchange Online account:
Click Sign in with Microsoft.
- For Gmail account:
-
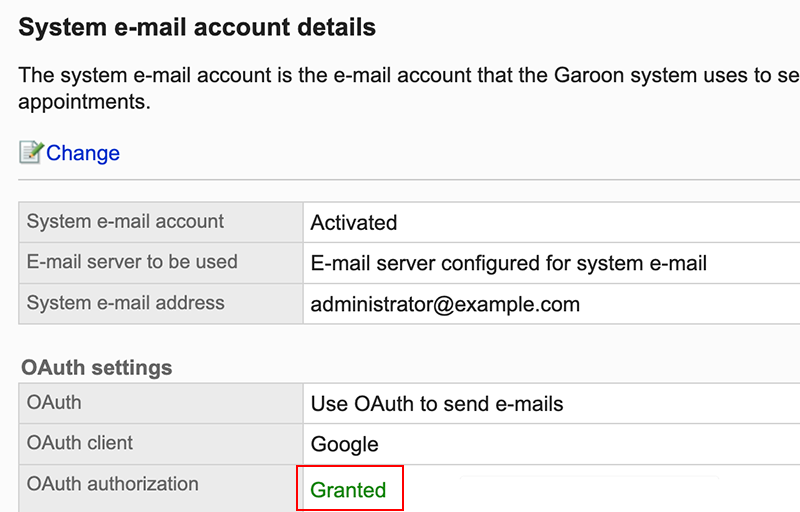
Confirm that the "Granted" is displayed in the "OAuth authorization" item.
Configure E-Mail Server for System E-Mail
Add a preconfigured e-mail server as an e-mail server for the system e-mail account to send e-mail notifications.
When using Gmail/Exchange Online accounts, refer to the steps described in Using Gmail/Exchange Online Account.
Garoon supports mail servers that use the following protocols and authentication methods with the system e-mail account.
- Supported protocols
- SMTP
- SMTP over TLS (TLS 1.2 and 1.3)
- SMTP STARTTLS (TLS 1.2 and 1.3)
- Supported authentication methods
- SMTP Authentication
- Advanced authorization (OAuth 2.0) for Gmail and Exchange Online
-
Click the Administration menu icon (gear icon) in the header.
The gear-shaped icon appears only on the screen for the users with administrative privileges. -
Click Garoon System Administration.
-
Select "Basic system administration" tab.
-
Click External server.
-
Click System mail account settings.
-
Click Change on the "System e-mail account details" screen.
-
In the "System e-mail account" field on the "Change system e-mail account" screen, select "Activate".
-
Select "Configure e-mail server for system e-mail" in the "E-mail server to be used" field.

-
In the "System e-mail address" field, enter the e-mail address to be used as the system mail account.
-
Set whether to use OAuth to send/receive e-mails.
You need to configure OAuth to use Gmail/Exchange Online accounts.
-
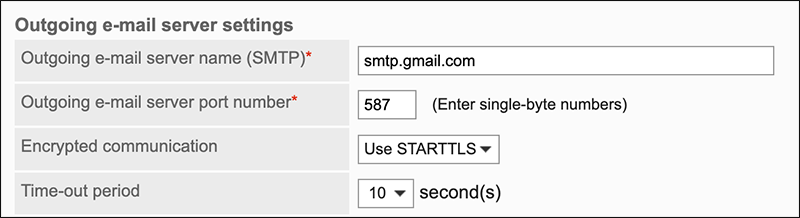
Set up the outgoing mail server information.
-
Outgoing e-mail server name (SMTP):
Enter the IP address or host name of the outgoing e-mail server.
The protocol used to send e-mail is SMTP. -
Outgoing e-mail server port number:
Enter the port number of the outgoing e-mail server with single-byte numbers. The default value is 25. -
Encryption:
Set the encrypted communication method for the outgoing mail server.
To encrypt communications with the outgoing mail server, select one of the following depending on your communication method:- Use TLS
- Use STARTTLS
If you do not want to encrypt communications with the outgoing e-mail server, select "Disable".
-
Time-out Period:
Select the number of seconds to wait before communication with the outgoing e-mail server times out. The default value is 10 seconds.
10, 20, 30, 40, 50, 60, 70, 80, 90, 100, 120
-
-
Configures SMTP authentication.
Set if the outgoing e-mail server supports SMTP authentication.

- SMTP authentication method:
If the outgoing e-mail server supports SMTP authentication, select an authentication method.
You can select from the following authentication methods.- PLAIN
- LOGIN
- CRAM-MD5
- DIGEST-MD5
- Account for sending:
If you have enabled SMTP authentication, enter the name of the account required for authentication. - Password for sending:
If you have enabled SMTP authentication, enter the password required for authentication.
- SMTP authentication method:
-
Confirm your settings and click Save.
Using Gmail/Exchange Online Accounts
This section describes how to use Gmail or Exchange Online accounts as system e-mail accounts.
-
Click the Administration menu icon (gear icon) in the header.
The gear-shaped icon appears only on the screen for the users with administrative privileges. -
Click Garoon System Administration.
-
Select "Basic system administration" tab.
-
Click External server.
-
Click System mail account settings.
-
Click Change on the "System e-mail account details" screen.
-
In the "System e-mail account" field on the "Change system e-mail account" screen, select "Activate".
-
Select "Configure e-mail server for system e-mail" in the "E-mail server to be used" field.
-
In the "System e-mail address" field, enter the e-mail address to be used as the system mail account.
-
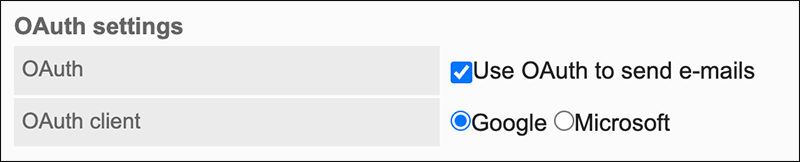
In "OAuth settings", select the "Use OAuth to send e-mails" checkbox and choose the OAuth client.
OAuth clients you can choose are as follows:
- Microsoft
-
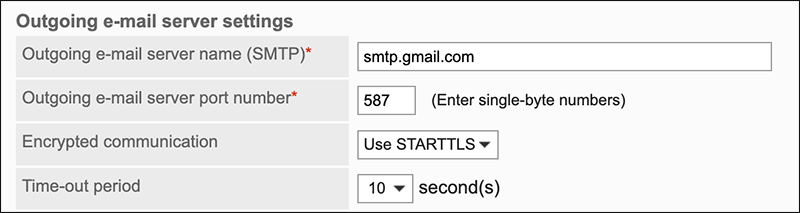
Change the following settings of the outgoing mail server as necessary.
- Time-out Period:
Select the number of seconds to wait before communication with the outgoing e-mail server times out. The default value is 10 seconds.
10, 20, 30, 40, 50, 60, 70, 80, 90, 100, 120
"Outgoing mail server name", "Outgoing port number", and "Encryption" are set automatically.
- Time-out Period:
-
Confirm your settings and click Save.
-
On the "System e-mail account details" screen, click the button displayed in the "OAuth authorization" field to authorize the e-mail account and allow accesses.
- For Gmail account:
Click Sign in with Google. - For Exchange Online account:
Click Sign in with Microsoft.
- For Gmail account:
-
Confirm that the "Granted" is displayed in the "OAuth authorization" item.