Preparing departments
Describes how to change the department information of the pre-registered data in 'Tentative reorganization'.
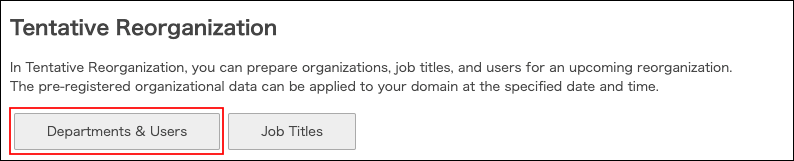
Screen to prepare departments
-
Click the gear-shaped menu button in the header.
-
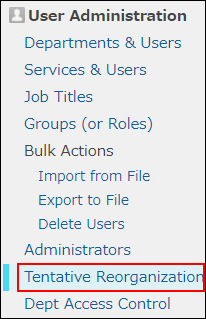
Click Users & System Administration.
-
Click Tentative reorganization.
-
Click Departments & users.
Adding departments
In "Tentative reorganization", add departments.
-
Click New Department.

-
Enter the values such as department name and department code.
For details on the fields, refer to the following page:
Items of department information -
Click Save.
Changing department members
In "Tentative reorganization", change the department members. The maximum number of department members is 10,000.
-
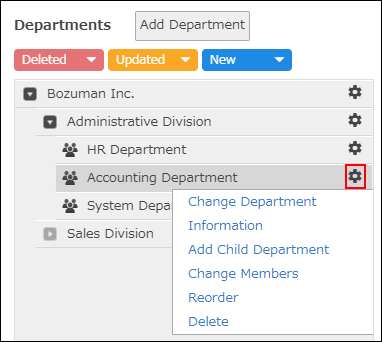
On the department whose members you want to change, click the gear-shaped icon.
-
Click Change members.
-
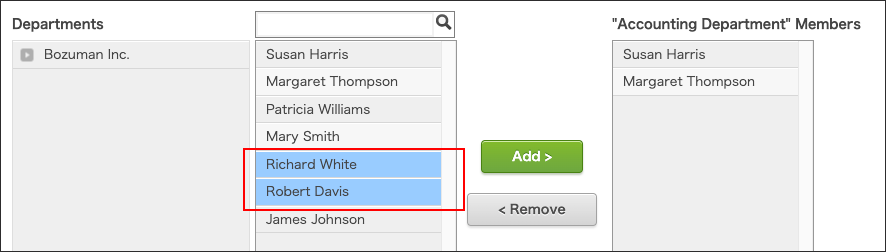
In the search box, enter the display name or login name of the user to find the target user.
You can also find the user by expanding the department tree. -
Select a user.
You can select multiple items.
-
Click Add.
The users selected in Step 5 are displayed in "Members in 'the selected department'". -
Click Save.
Changing department information
In "Tentative reorganization", change department information such as the department name.
-
On the department whose information you want to change, click the gear-shaped icon.
-
Click Change department information.
-
Change the department information.
Items of department information -
Click Save.
Changing display order of departments
In "Tentative reorganization", change the display order of departments.
-
On the department whose display order you want to change, click the gear-shaped icon.
-
Click Reorder.
-
Change the display order of departments by drag-and-drop.
-
Click Save.
Deleting departments
In "Tentative reorganization", delete departments.
As for notes on deleting departments, refer to the following page:
Notes on deleting departments
-
On the department you want to delete, click the gear-shaped icon.
-
Click Delete.
-
On the confirmation screen, click Delete.