Adding/Deleting Tables on an App Form
App forms come with a feature to create tables, which allow app users to add rows as needed when they enter data.
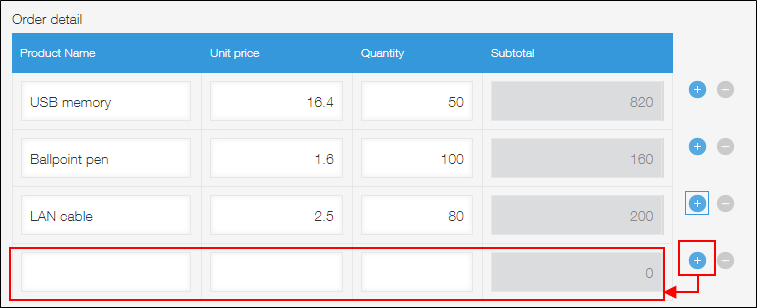
Tables are useful for managing multiple data entries in a single record.
For instance, you can create a table in an order management app, and use as many table rows as necessary to enter different products and quantities based on each customer order.
Adding a table on the app form
To create a table on your app form, first place a Table field by dragging and dropping the Table field from the list of fields onto the app form, and then drag and drop the fields you want to include in the table one by one.
You can set a name and field code for each created table.
In the procedure below, you will set a table name and field code in Step 5 to Step 8, that is, after placing fields inside the table. However, it is also possible to set these items before you begin placing fields inside the table or while you are placing them.
-
Click the App settings icon (the gear-shaped icon) at the upper right of the View screen.

-
On the App settings screen, click the Form tab.
-
Place a Table field on the app form.

-
Drag and drop the fields you want to include in the table one by one.
When you place a field inside the table, an area for adding another field will appear along with text telling you how to do so.
-
Click Settings displayed under the Settings icon (the gear-shaped icon) at the upper right of each field and configure the settings for each field placed inside the table.
-
Hover your cursor over the top right of the Table field. When the Settings icon (the gear-shaped icon) appears, click Table settings.

-
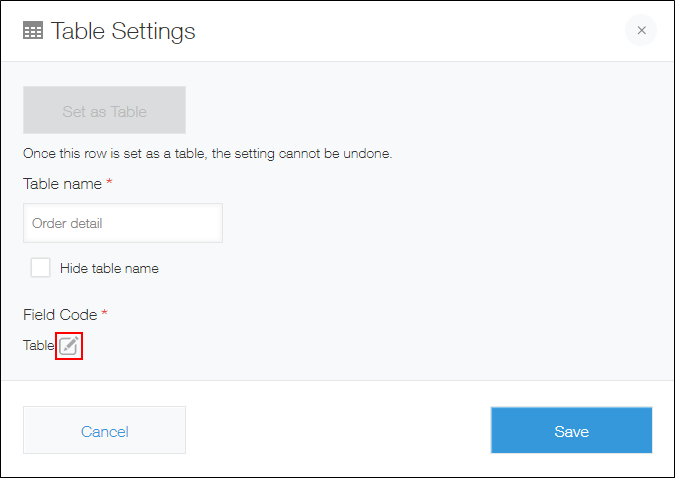
Enter a table name.
If you want to hide the table name, select Hide table name. You may prefer to hide the name if, for example, you want to use a Label field to display a formatted table name.

-
If necessary, click the Edit icon under Field code and enter a field code for the table.
-
Click Save.
-
When you have finished configuring the form settings, click Save form at the upper left of the screen.
When the form is saved, the guidance that tells you how to add more fields on the table disappear. -
Click Update app at the upper right of the screen.
-
On the Update app dialog, click Update app.
Deleting a table on the app form
The following are the steps to delete a table.
-
Click the App settings icon (the gear-shaped icon) at the upper right of the View screen.
-
On the App settings screen, click the Form tab.
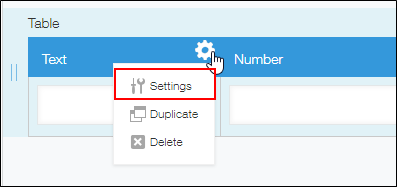
-
On the Form settings screen, hover your cursor over the Settings icon (the gear-shaped icon) at the upper right of the field you want to delete, then click Delete.

-
On the Delete table dialog, click Delete.
-
Click Save form at the upper left of the screen.
-
Click Update app at the upper right of the screen.
-
On the Update app dialog, click Update app.
Table-related actions available after the app is updated
The following are actions you can perform on a table after you add it on the app form and update the app.
-
Change the position of the entire table on the app form
-
Add or delete fields in the table
Note that is not possible to move fields that are already in-use into a table. It is also not possible to move fields inside a table out of the table or into other tables.
-
Change the ordering of the fields inside the table
Points to note when setting conditions that use values in a table
When you set conditions that use values in a table, make sure to note the following information.
- When specifying field values in a table as a condition for filtering records to be displayed in a view:
If any of the table rows in a record meets the filter condition, the record is displayed in the filtered result.
Configuring views - When specifying field values in a table as a condition for sending notifications from an app
- Per Record Notifications
A notification is sent when any of the table rows meets the condition. However, the notification is not sent if any of the other table rows has already met the condition.
Per record notifications: Setting up notifications sent when a record meets a certain condition - Reminder notifications
A reminder is sent every time a table row meets the condition.
Reminder notifications: Setting reminder notifications with date and time conditions - Conditions in the Permissions for Records setting
The permission setting is applied to a record if it contains any table rows that meet the condition.
Configuring permissions for records
- Per Record Notifications
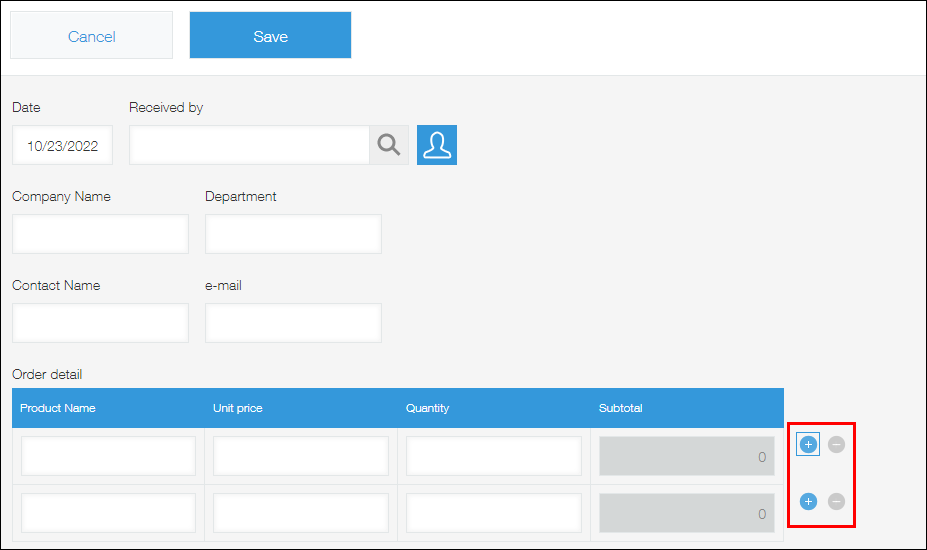
How to add or delete table rows when adding or editing a record
You can add or delete table rows on each record.
-
Navigate to the New record screen or the record editing screen in your app.
-
To add a row, click the Add row icon (the plus sign-shaped icon).
To delete a row, click the Delete row icon (the minus sign-shaped icon).