Adding users
Use the information in this article to start adding users to kintone.
The method described here can be used to add users anytime, unlike inviting users from the screen that appears during initial logins and the free trial period.
You can add users even if you haven't added any departments.
It is also possible to add departments later on after you have added users. For information on how to add departments, refer to the following page.
Adding departments
Steps
Note that only cybozu.cn administrators can add users.
-
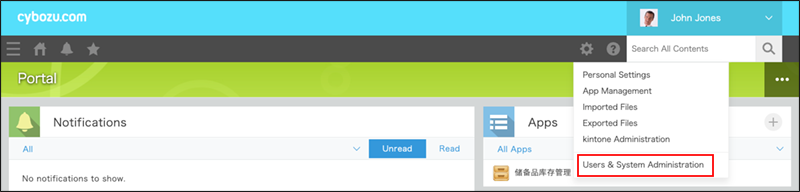
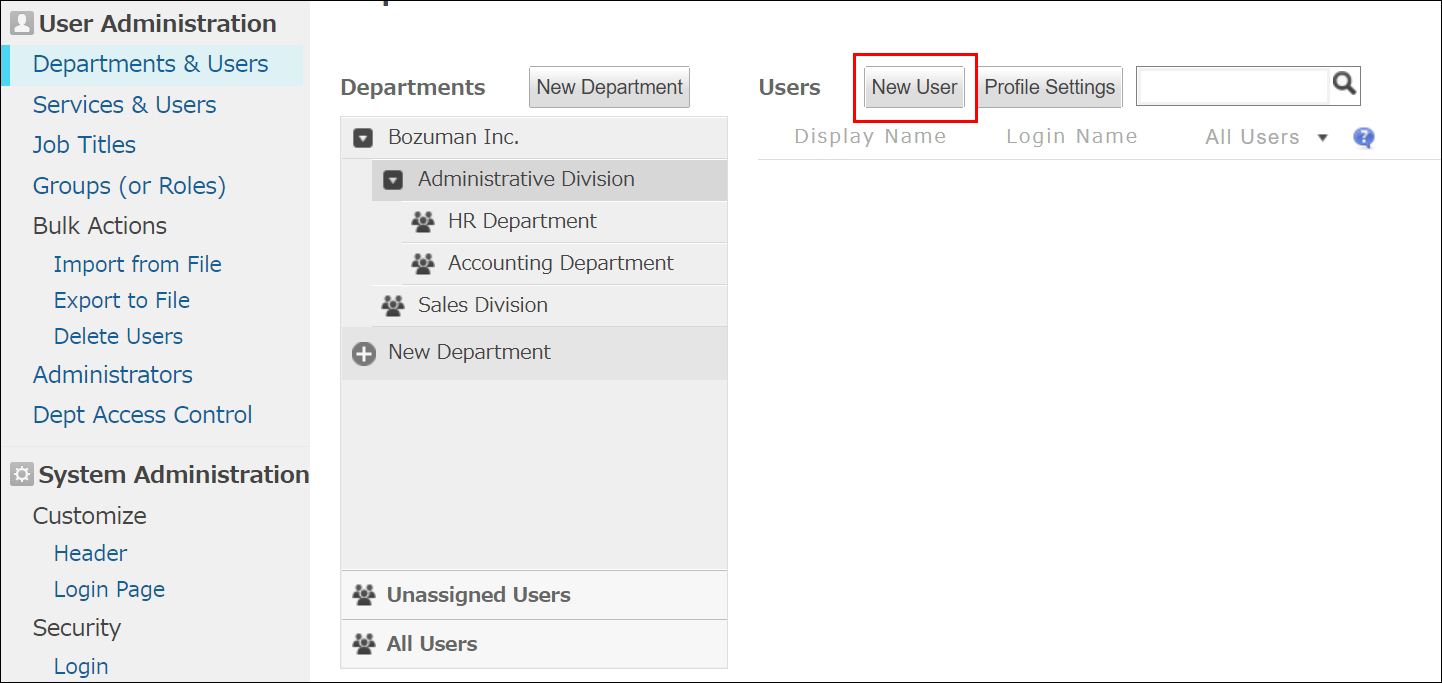
Click the Settings icon (the gear-shaped icon) at the top of kintone, then click Users & system administration.
-
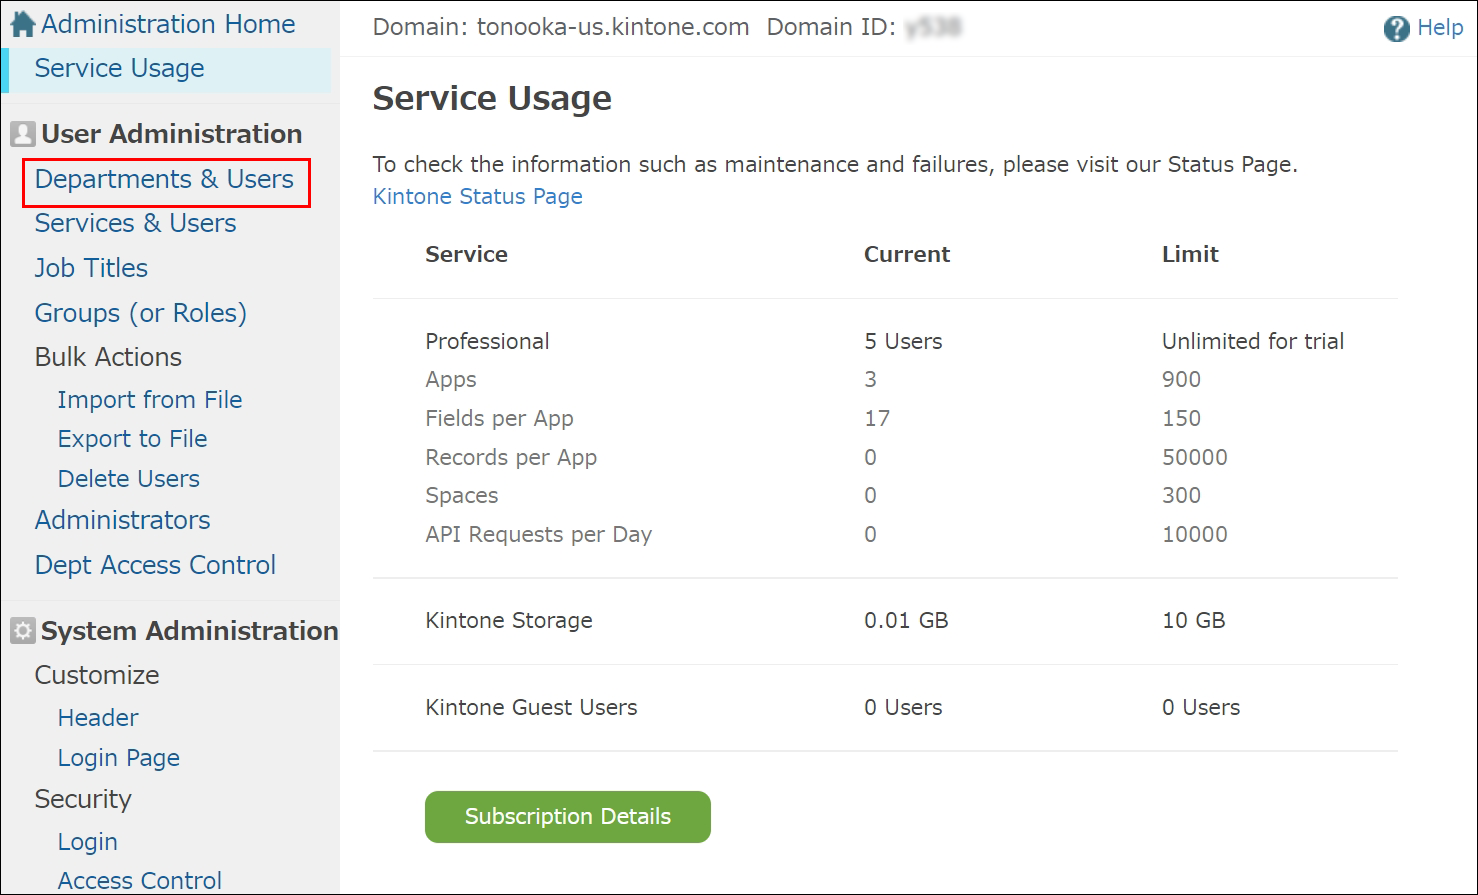
On the Users & system administration screen, click Departments & users under User administration.
-
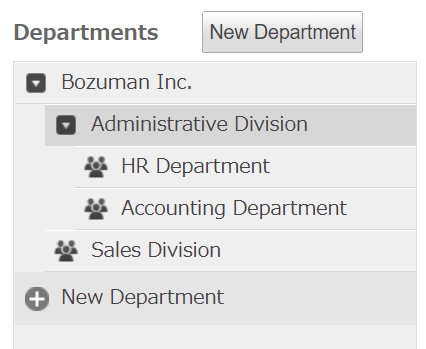
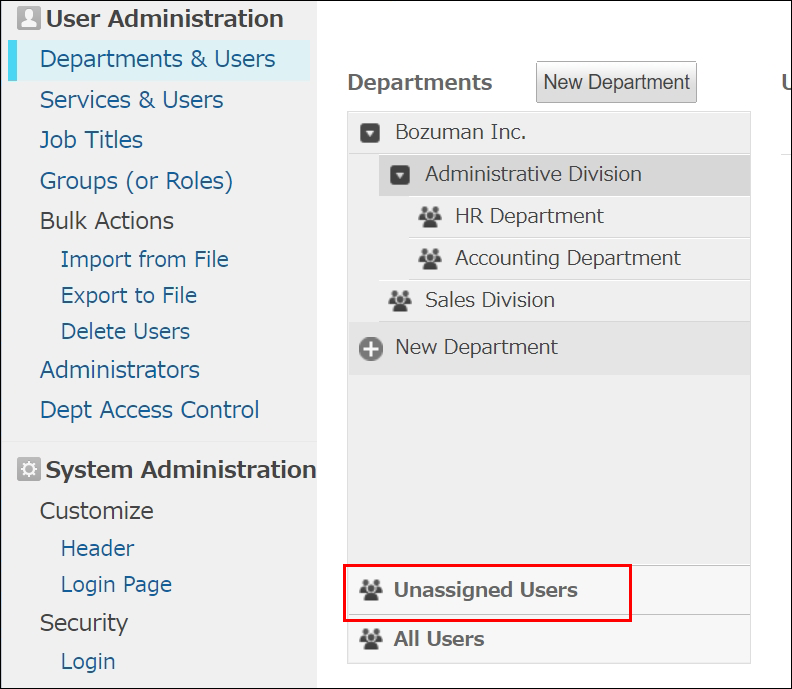
Make one of the selections below, depending on whether or not you want to set a department for the user. (You can also change or set a user's department after adding them.)
- If you want to set the user's department: Expand the department tree and select a department.
- If you do not want to set a department for the user: Click Users not yet assigned.
- If you want to set the user's department: Expand the department tree and select a department.
-
Click Add user.
-
Configure the settings on the Add user screen.
-
Account
-
Display name (Required):
Enter the user's name to be displayed on kintone. -
Email address:
Enter the user's email address. The email address specified here will be used to receive notification emails from kintone and to reset the password in the case where the user forgets it. Do not specify a shared email address for this item. -
Use email address as login name:
This checkbox is selected by default. If the user you are adding does not have an email address or you do not want to use their email address as their login name, deselect the checkbox and set a login name. -
Login name (Required):
If the Use email address as login name checkbox is deselected, enter an ID for logging in to kintone. For information on the accepted character types and maximum length of login names, refer to the following page.
Characters that can be used for login name and password -
Password (Required):
Set the user's password using either of the following methods.- If you want to use an automatically generated password:
Make sure the Automatically generate password checkbox is selected. The checkbox is selected by default. - If you want to set a password manually:
Deselect the Auto-generate password checkbox and enter a password. For information on the accepted character types and maximum length of passwords, refer to the following page.
Characters that can be used for login name and password
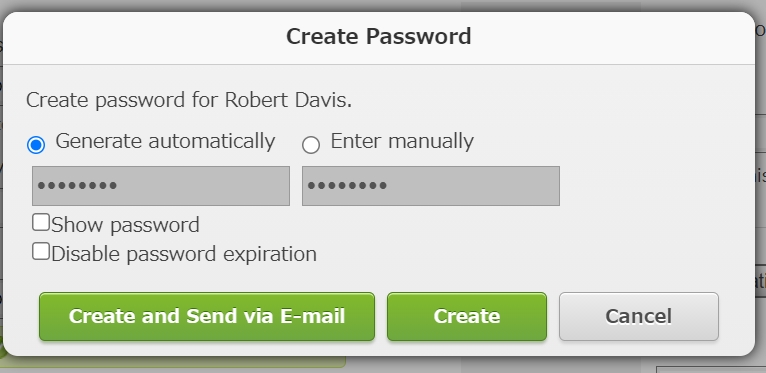
- To view the password entered in the Password field, select the Show password checkbox.
- If you select Disable password expiration, the user's password will remain valid indefinitely, regardless of your current password policy settings. For details on the password policy settings, refer to the following page.
Password policy
- If you want to use an automatically generated password:
-
-
Account status
- Status:
Choose either Active or Inactive as the account status. - Available services:
This section displays the services that are available with your license and the services for which you have signed up for a trial. Make sure that the checkbox for kintone is selected.
- Status:
-
Basic profile
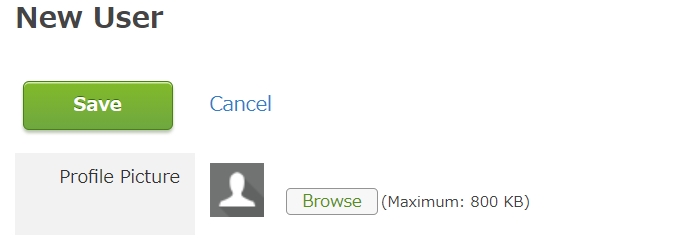
- Profile picture:
Select an image file of 800 KB or less in size. The following image file formats are supported: GIF, JPEG, PNG, and BMP. - Given name and Surname:
Enter the user's surname and given name. - Phonetic given name and Phonetic surname:
Enter the pronunciation of the user's given name and surname.
- Profile picture:
-
Department(s)
- Department(s):
Set the user's department and job title. For details on how to add departments or job titles, refer to the following pages. - Priority department:
Select the department that will be given priority to be displayed on the user's screen if they belong to multiple departments.
- Department(s):
-
Contacts
- Phone:
Enter a phone number for the user. - Extension:
Enter an extension number for the user. - Mobile phone:
Enter a mobile phone number for the user. - URL:
Enter a web page URL for the user. - Skype name:
Enter a Skype name for the user.
- Phone:
-
Locale
- Language:
Select the language the user will use in kintone. - Time zone:
Select the user's time zone.
- Language:
-
Display name in different language
- Display language:
Select the other language the user will use in kintone. - Display name in different language:
Enter the name to be displayed in the specified other language in kintone. If no name is specified here, the name set under Display name will be shown as the user's name in kintone.
- Display language:
-
Other
For details on how to configure the Optional settings, refer to the following page.
Items of user information -
Display order
- Display order:
Specify the priority for displaying the user on user selection screens and in other user lists. For details, refer to the following page.
Changing the display order of users
- Display order:
-
-
Click Add user.
-
The Add user dialog will appear. Select whether to send the user's password and login information to them via email.
- To send the user an email: Click Preview email, edit the Email address and Message body fields if necessary, and select Send.
- To not send the user an email: Click Add user without sending email. After doing so, inform the user of the following information.
- Access URL of kintone (Example: https://subdomain-name.cybozu.cn/k/)
- Login name
- Password
User security settings
The following security features are provided to control user access. Consider using them as needed.
Single sign-on with SAML authentication
Users can single sign-on (SSO) into kintone by using user accounts registered with an identity provider (IdP).
For details, refer to the following page.
SAML authentication
Two-factor authentication (Using an authentication app)
Users will be required to enter a verification code provided by an authentication app (e.g., Google Authenticator and Microsoft Authenticator) in addition to their login name and password. This enables users to log in to kintone more securely.
For details, refer to the following page.
Two-factor authentication
IP address restrictions
You can limit the networks that can access kintone by IP address.
For details, refer to the following page.
IP address restrictions
Basic authentication
In addition to a login name and password, users will be required to enter authentication credentials specified by administrators.
Basic authentication is available only when IP address restrictions are enabled.
For details, refer to the following page.
Basic authentication